


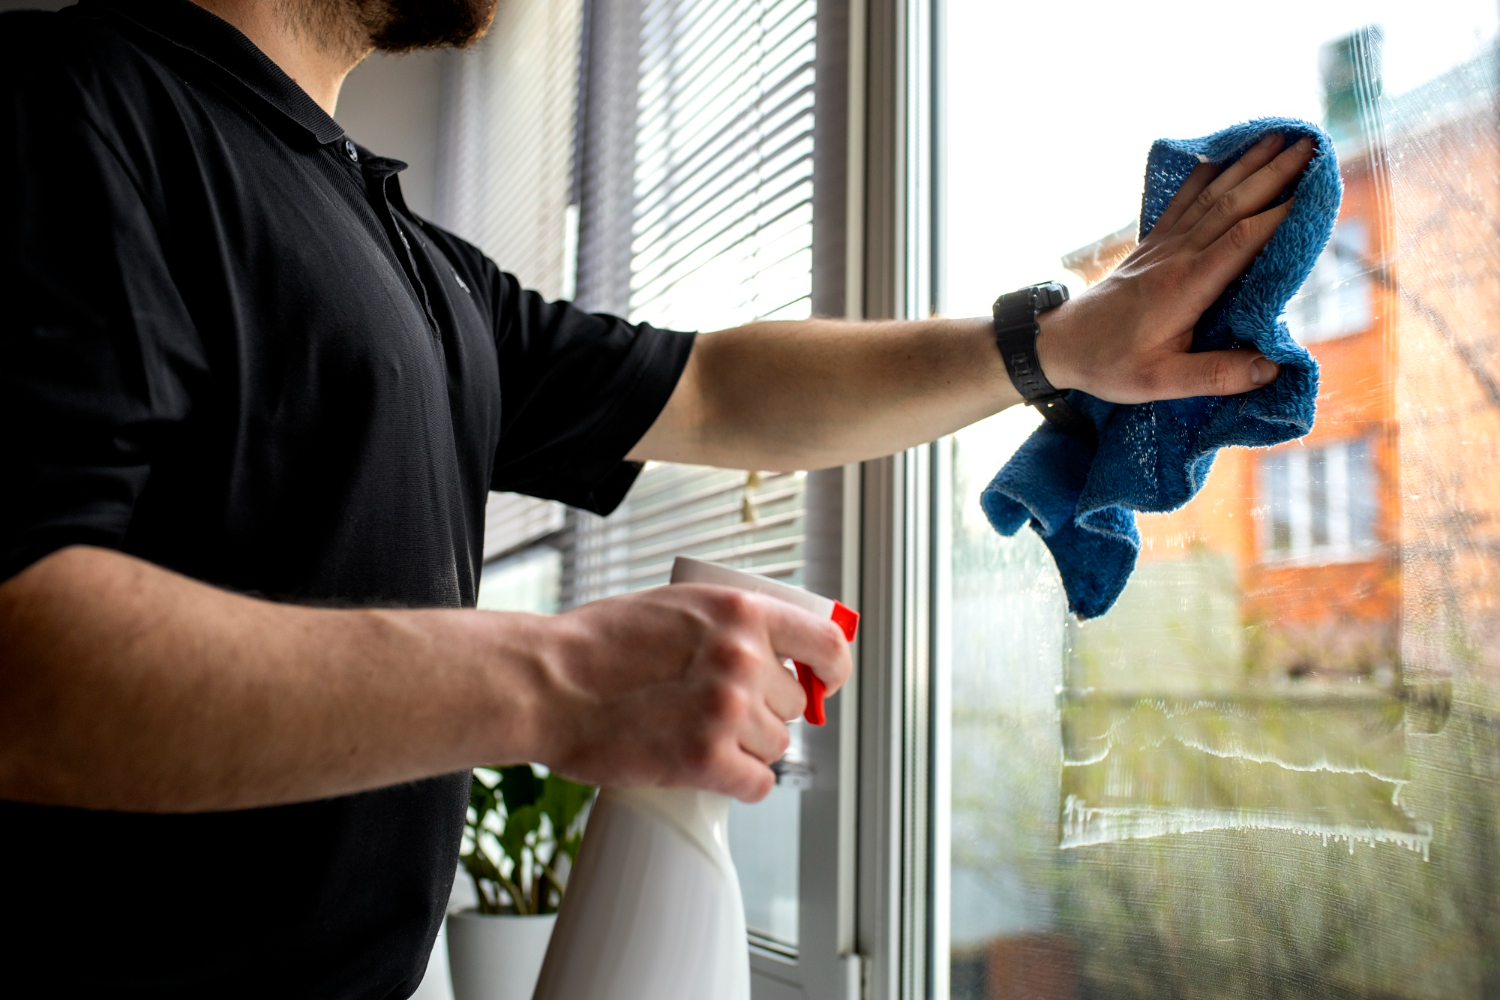

That once-sleek window tint is now bubbling and distorted, but before you grab a razor blade, stop. A DIY removal attempt often leads to a costly disaster that most homeowners never see coming. Can you actually save your glass safely? Discover the hidden risks of DIY stripping and why Windows Replacement in Central Islip, Long Island might be the smarter, safer path for your home’s future.
Go to Windows Replacement in Central Islip, Long Island
TL;DR:
Removing home window tint safely is a systematic process designed to avoid the costly glass damage often associated with improper DIY attempts. The procedure requires thorough preparation of the workspace, including proper ventilation and the gathering of tools such as heat guns and scrapers.
How is Window Tint Removed from House Glass?
Removing window tint from house glass involves a systematic process that combines heat, careful peeling, and thorough cleaning to avoid damaging the surface. Window films adhere using pressure-sensitive adhesives designed to bond tightly to glass, which is why proper removal requires softening the adhesive before separating the film. In general, the process includes preparing the work area, applying heat to weaken the adhesive, peeling the film carefully, removing any remaining glue, and finally cleaning and polishing the glass.
Heat plays a crucial role throughout this process because it changes the adhesive from a rigid state to a softer, more pliable form, allowing for easier removal without the need for excessive force.
Prepare Glass Surface and Work Area
Before beginning the removal process, it is essential to prepare both the glass surface and the surrounding area. This initial step ensures safety and efficiency while preventing unnecessary damage to the home.
- Clear the Space: Start by clearing the area around the window and removing furniture or coverings that could be affected by moisture or cleaning agents.
- Ventilation and Safety: Proper ventilation is recommended, especially when using chemical cleaners or adhesive removers. Wearing protective gloves is also advisable to prevent injury from heat or sharp tools.
- Organize Tools: Gathering the necessary tools in advance—such as a heat source (hair dryer or heat gun), scraper, cleaning solutions, and microfiber cloths—helps streamline the process and reduces interruptions.
- Surface Prep: Cleaning the glass lightly before starting can remove dust or debris that might scratch the surface during scraping. This preparation stage sets the foundation for a smoother and safer tint removal process.
Heat Tint Film for Adhesive Release
Applying heat is considered one of the most important steps in removing window tint effectively. While the adhesive used in window films is designed to maintain a strong bond, the application of heat weakens this bond by softening the adhesive polymers. Various tools can be used to warm the tinted surface, including a heat gun, hair dryer, or steamer. To ensure safety, the heat must be applied evenly and at a controlled distance to avoid the risk of overheating or cracking the glass.
Moving the heat source in circular or sweeping motions is recommended to ensure the adhesive softens uniformly. This process allows the adhesive to transition into a more flexible and pliable state, making it much easier to separate the tint film from the glass surface. For the best results, it is generally recommended to work in sections, reheating specific areas as needed to maintain effectiveness throughout the entire removal process.
Peel Tint Starting from Corners
Once the adhesive has been sufficiently softened, the next step is to peel the tint film. This process typically begins at a corner or edge of the window.
- Initiating the Peel: Using a razor blade or similar tool, a small section of the tint is gently lifted to create a starting point.
- Steady Removal: From there, the film should be pulled slowly and evenly, ideally in large sections to minimize tearing and reduce leftover adhesive.
- Temperature Control: Maintaining consistent heat during peeling helps prevent the film from breaking apart and keeps the adhesive pliable.
- Managing Resistance: If resistance is encountered, additional heat should be applied rather than using force, as excessive pulling can leave more residue or damage the glass. A careful and patient approach is essential during this stage to ensure a cleaner removal and reduce the effort required in later steps.
Remove Adhesive Residue from Glass
After the tint film is removed, adhesive residue often remains on the glass. This residue can be particularly stubborn due to prolonged exposure to heat and sunlight, which can harden the adhesive over time.
- Softening Residue: To remove it, a cleaning solution such as an adhesive remover, soapy water, or alcohol-based cleaner is applied to soften the remaining glue. Allowing the solution to sit for several minutes helps break down the adhesive bonds.
- Scraping Technique: Once softened, the residue can be gently scraped off using a razor blade or plastic scraper. It is important to hold the tool at a shallow angle and use light pressure to avoid scratching the glass surface. This step may need to be repeated multiple times for stubborn areas, emphasizing patience and careful technique.
Clean and Polish Window Surface
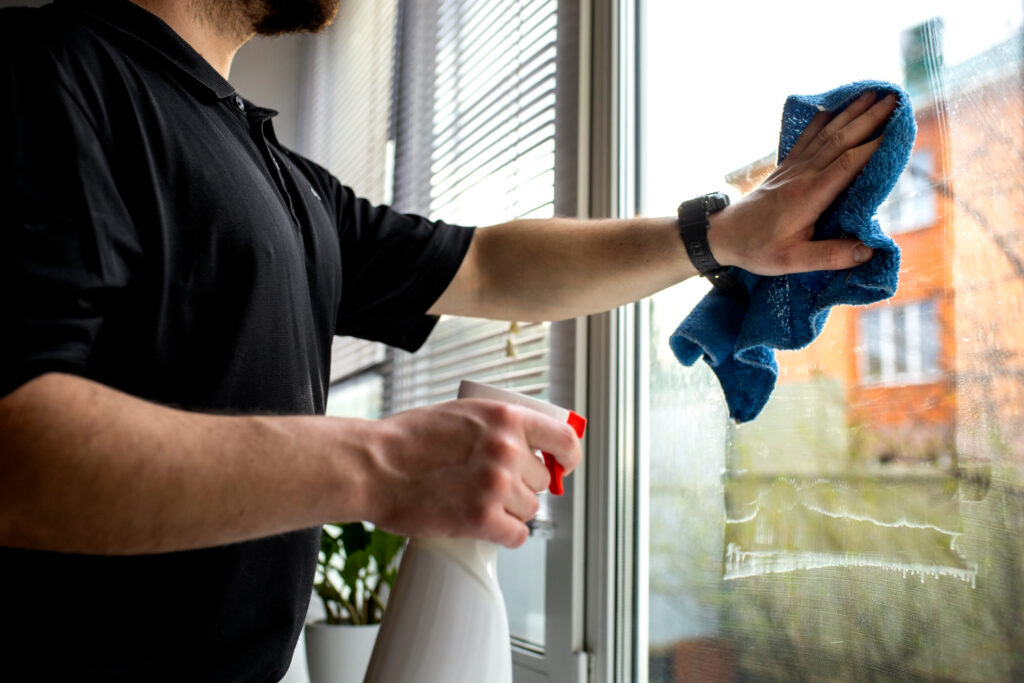
The final step in the process is to clean and polish the window to restore its original clarity and appearance. Once all adhesive residue has been successfully removed, the glass should be washed with a mild cleaning solution to eliminate any remaining chemicals or streaks. Using a microfiber cloth during this stage helps achieve a streak-free finish and prevents lint from sticking to the surface.
Proper cleaning is vital because it not only improves visibility but also prepares the glass surface for the potential reapplication of new tint or other treatments. Polishing the glass thoroughly ensures that no haze or residue remains, leaving the window surface clear and smooth. This final polishing step completes the systematic removal process and significantly enhances the overall quality of the result.
Key Takeaways.
- While you might be tempted to go at that bubbling film with a blade, proceed with extreme caution. A botched DIY job often results in permanent glass damage that most homeowners don’t see coming.
- A successful removal starts with a clean workspace and the right tools, including a heat source, scrapers, and microfiber cloths. You will want to clear nearby furniture and ensure the room is well-ventilated before applying any chemical adhesive removers.
- Heat is the secret sauce for removal because it turns rigid adhesive into a pliable material that is much easier to manage. Using a heat gun or steamer in sweeping motions ensures the softening is uniform across the entire tinted surface.
- Start at a corner and pull the film slowly to keep it from tearing into many tiny, frustrating pieces. If you feel any resistance, do not force it; simply apply more heat to keep the bond weak and the film moving.
- Stubborn residue usually stays behind, so soften it with a solution before gently scraping at a shallow angle with a razor. Follow up with a mild cleaning solution and a microfiber cloth to prevent streaks or lint from ruining your view.
FAQs:
What is the easiest way to remove tint from house windows?
The easiest method involves a systematic process that uses heat to transition adhesives from a rigid state to a softer, more pliable form. This softening allows the film to be peeled away in large sections without the need for excessive force.
Is house window tint removable?
Yes, house window tint is removable through a step-by-step process that combines heat, careful peeling, and thorough cleaning. Proper removal requires softening the pressure-sensitive adhesives that bond the film tightly to the glass.
Does removing tint ruin windows?
It can if the removal is handled improperly; DIY attempts often lead to costly disasters that homeowners do not expect. Potential damage includes cracking the glass from uneven heat application or scratching the surface by using scrapers at incorrect angles.
What are common mistakes when removing tint?
Common mistakes include attempting to pull the film with excessive force rather than applying additional heat when resistance is encountered. Additionally, failing to apply heat evenly or at a controlled distance can lead to overheating or cracking the glass surface.
You May Also Like:
How New Windows Increase Home Value and Boost …
Vinyl vs. Wood Replacement Windows: Which Is Better for Long Island?